
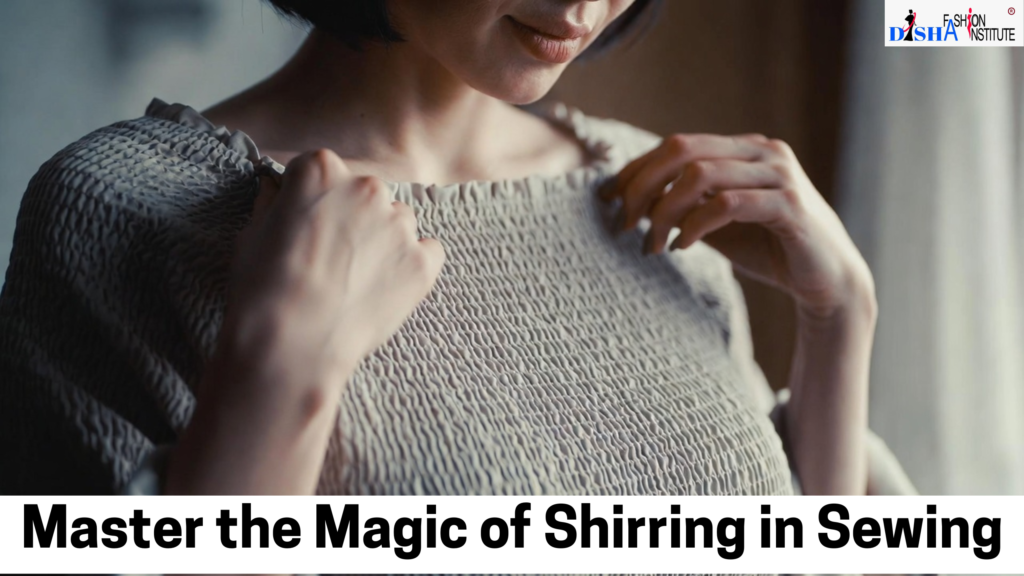
What Is Shirring in Sewing?
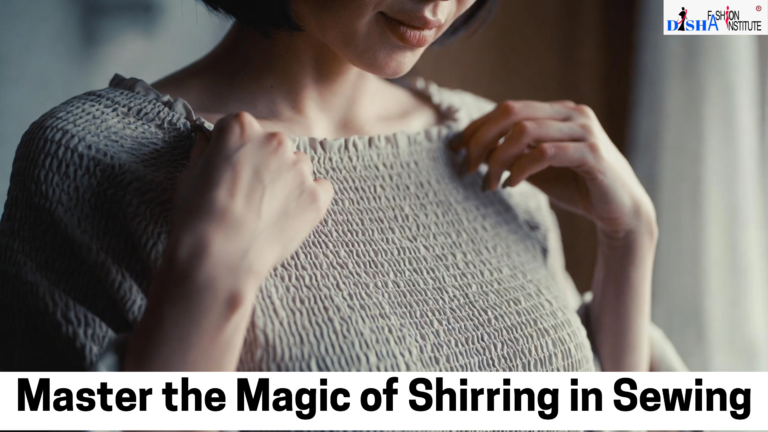
Shirring is a sewing technique used to gather fabric while creating stretch with elastic thread. Unlike ordinary gathering, where regular thread simply draws the fabric together, shirring uses elastic thread—usually in the bobbin—to give the stitched area a flexible, gathered finish.
Multiple rows of stitching are generally sewn parallel to each other. As the elastic contracts, the fabric gathers into small, even folds.
This makes shirring useful for garments that need both shape and comfortable movement.
How Does Shirring Work?
The basic principle behind shirring is simple: regular sewing thread is used on the top of the machine, while elastic thread is commonly wound onto the bobbin.
As you sew successive rows, the elastic pulls the fabric inward. The more rows you add, the larger the shirred section becomes.
Because every sewing machine and fabric behaves differently, it is important to test the technique on a scrap of the same fabric before working on the actual garment.
Materials You Need for Shirring
You do not need a large collection of specialised equipment. For basic shirring, you will generally need:
- Lightweight or medium-weight fabric
- Elastic sewing thread
- Regular sewing thread
- Sewing machine
- Empty bobbin
- Fabric marker or tailor’s chalk
- Measuring scale or ruler
- Scissors
A standard straight-stitch setup is usually enough for practising basic shirring.
How to Do Shirring Step by Step
- Prepare Your Fabric
Choose a fabric that can gather comfortably. Lightweight woven fabrics are often easier to handle when learning.
Cut and press your fabric before starting. Decide where you want the shirred section to appear, such as the bodice, waist, sleeve or back.
- Wind the Elastic Thread
Wind the elastic sewing thread onto an empty bobbin according to the requirements of your machine.
For beginners, hand-winding gives better control over how the elastic is placed on the bobbin. Avoid creating an unnecessarily tight or uneven winding, as the bobbin tension and winding method can affect the final result.
- Thread the Machine
Use regular sewing thread as your upper thread and place the elastic-thread bobbin into the machine.
Make sure the bobbin is seated and threaded correctly through the bobbin mechanism. Machine designs vary, so always follow your sewing machine’s instructions where necessary.
- Mark Your Shirring Lines
Use tailor’s chalk or a removable fabric marker to create parallel lines.
Keeping the lines evenly spaced will give your finished shirring stitch a cleaner and more professional appearance.
- Select a Longer Straight Stitch
Set the machine to a straight stitch with a longer stitch length than you would normally use for everyday sewing.
There is no single setting that works perfectly for every machine and fabric. Start with a test piece and adjust gradually rather than changing several settings at once.
- Start Sewing
Place the fabric under the presser foot and stitch along your first marked line.
Keep the fabric controlled and allow the machine to feed it naturally. Continue sewing parallel rows while maintaining consistent spacing.
As more rows are stitched, the elastic will begin drawing the fabric into gathers.
- Build the Shirred Area
Continue adding rows until you achieve the amount of gathering and coverage you want.
After stitching, gentle steam can help the gathered area contract and settle. However, avoid placing excessive direct heat on elastic thread because high heat can damage elastic materials.
Where Can You Use Shirring?
One reason shirring in sewing is so popular is its versatility. It can be used as both a functional and decorative detail.
Common applications include:
- Dress bodices – creates a comfortable fitted section
- Tops and blouses – adds texture and flexibility
- Waistlines – provides a flexible alternative to some traditional closures
- Sleeves and cuffs – creates attractive gathered details
- Necklines – adds soft shaping
- Back panels – allows additional comfort and movement
- Kidswear – useful for comfortable, flexible garment sections
Shirring can therefore be incorporated into everyday clothing as well as creative fashion designs.
Shirring vs. Regular Gathering
Although both techniques gather fabric, they are not exactly the same.
Regular gathering uses ordinary thread to draw fabric into folds. It creates fullness but does not automatically make the gathered section elastic.
Shirring combines gathering with elastic thread, so the finished section can contract and stretch.
This difference makes shirring particularly useful when you want a garment to have a close fit without sacrificing comfort.
Common Shirring Problems and How to Avoid Them
Uneven Gathers
Uneven line spacing or inconsistent stitching can produce an irregular appearance.
Solution: Mark your rows clearly and maintain a steady sewing speed.
Very Little Gathering
If the fabric barely gathers, check your elastic-thread setup, machine threading, stitch length and bobbin arrangement.
Solution: Test one adjustment at a time on scrap fabric.
Uneven Elasticity
Different winding tension or machine settings can affect how much the elastic contracts.
Solution: Use the same preparation method for the entire project and test before sewing the garment.
Fabric Gets Distorted
Pulling the fabric while sewing can interfere with the machine’s natural feeding process.
Solution: Guide the fabric gently rather than forcing or stretching it.
Beginner Tips for Better Shirring
If you are learning shirring for beginners, keep these simple points in mind:
- Always make a test sample first.
- Start with an easy-to-handle fabric.
- Keep your shirring rows evenly spaced.
- Use regular thread on top and elastic thread in the bobbin for the common machine-shirring method.
- Make small adjustments to machine settings rather than changing everything at once.
- Check the stretch before cutting or assembling the final garment.
- Practise on a fabric scrap before attempting a detailed fashion project.
A few practice samples can make a significant difference to your confidence and consistency.
Why Should You Learn Shirring?
Learning shirring gives you another valuable technique for garment construction and fashion design. It can transform a flat piece of fabric into a textured, flexible and visually interesting garment section.
For sewing students, it is also an excellent way to understand how elastic thread, fabric behaviour, stitch length and garment fit work together.
Once you become comfortable with basic shirring, you can experiment with different row spacing, garment sections and design ideas to create your own styles.
Final Thoughts
Shirring may look complicated when you first see a beautifully gathered garment, but the basic technique is surprisingly approachable. With elastic thread, suitable fabric, accurate rows and a little practice, you can create attractive stretch-gathered sections on dresses, tops, sleeves, waistlines and more.
The key to mastering shirring in sewing is not simply following one machine setting—it is learning how your particular machine, elastic thread and fabric work together. Start with a small sample, practise patiently, and gradually experiment with your designs.
At Disha Fashion Institute, developing practical sewing skills like shirring can help learners expand their garment-making knowledge and explore more creative possibilities in fashion and dress designing.
Join Disha Fashion Institute
You can also visit our Homepage or explore our different Course pages to learn more about our programs. If you need any guidance related to courses like Basic Tailoring, Diploma in Tailoring, Fashion Designing, or other fashion-related courses, feel free to contact us. Our team will understand your requirements, skill level, and career goals to guide you toward the most suitable course that matches your learning needs. you can check our YouTube Channel we post our Institute and tutorial over there.