
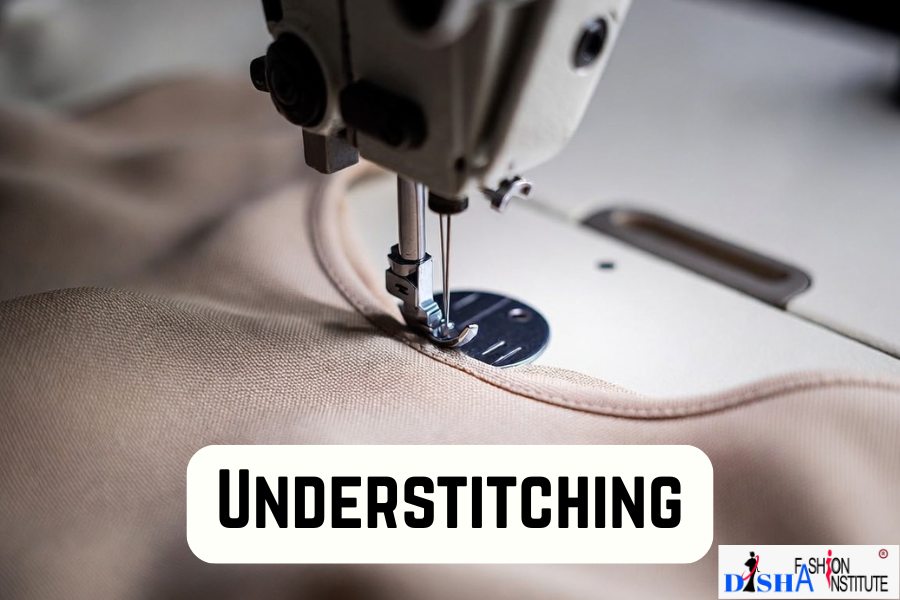
Understitching Definition
If you are learning garment construction, understanding the understitching definition is one of the easiest ways to improve the quality of your sewing projects. Understitching is a simple sewing technique that helps necklines, armholes, facings, and linings stay neatly inside the garment instead of rolling outward.
Many beginners skip this step, but professional tailors and fashion designers use it regularly because it creates a cleaner and more polished finish. Once you know what is understitching, your dresses, blouses, and tops will look more structured and professionally made.
What Is Understitching?
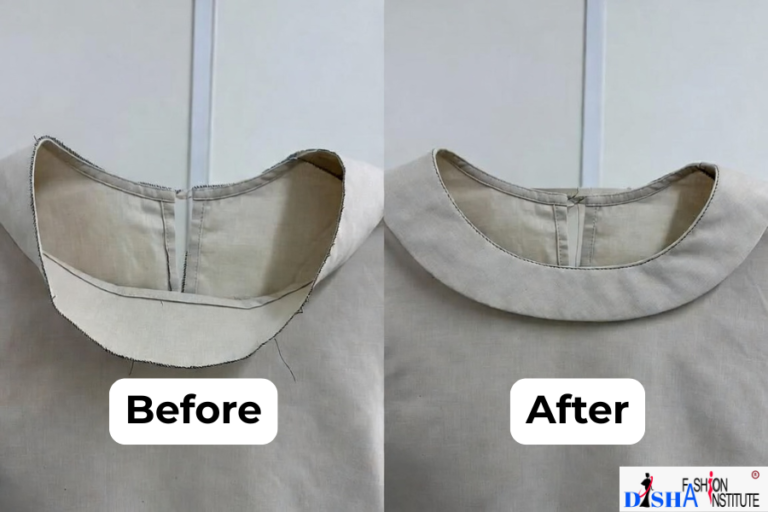
What is understitching? Understitching is a row of stitching sewn on the facing or lining very close to the seam line after two fabric pieces have been joined together. The seam allowances are pressed toward the facing, and the stitching is sewn through the facing and seam allowances, but not through the main outer fabric.
This keeps the facing from showing on the outside and helps the edge lie flat against the body.
Simple Example
Imagine stitching the neckline of a blouse. Without understitching, the facing may slowly move outward after washing or wearing the garment. Understitching holds the facing in place so the neckline stays neat and smooth.
Why Is Understitching Important?
Understanding the understitching definition becomes easier when you know its purpose.
1. Prevents Rolling Edges
The main benefit is that it stops facings and linings from rolling to the outside of the garment.
2. Creates a Professional Finish
Garments look cleaner, flatter, and more professionally stitched.
3. Reduces Bulk
Because the seam allowances are secured in one direction, the edge becomes smoother and easier to press.
4. Improves Durability
The facing stays in its proper position even after repeated use and washing.
Where Is Understitching Used?
Understitching is commonly used in many sewing projects, including:
- Round necklines
- V-neck blouses
- Sleeveless dresses
- Armholes with facings
- Lined bodices
- Skirts with waistband facings
- Children’s garments
These areas tend to shift during wear, so understitching helps maintain the garment’s shape.
How to Do Understitching
Step 1: Stitch the Seam
Join the main fabric and the facing or lining with a regular seam.
Step 2: Trim the Seam Allowance
Reduce excess fabric if necessary, especially on curved edges.
Step 3: Press Toward the Facing
Use an iron to press the seam allowances toward the facing or lining.
Step 4: Sew Close to the Seam
Stitch about 1–3 mm (1/16–1/8 inch) away from the original seam on the facing side. Make sure the stitching catches both the facing and the seam allowances.
Step 5: Press Again
Turn the facing to the inside and press the edge flat for a crisp finish.
Understitching vs. Topstitching
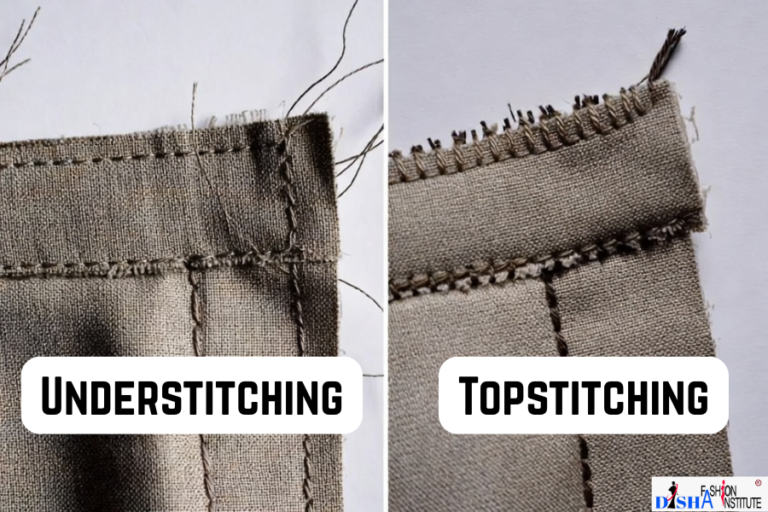
Many beginners confuse these two techniques.
| Feature | Understitching | Topstitching |
|---|---|---|
| Visible from outside | No | Yes |
| Purpose | Hold facing inside | Decorative or reinforcing |
| Stitch location | On facing near seam | On outer garment surface |
| Common use | Necklines and armholes | Collars, pockets, hems |
Knowing this difference is an important part of understanding what is understitching in sewing.
Tips for Better Understitching
Use Matching Thread
A matching thread helps keep the stitching discreet if a small portion becomes visible inside the garment.
Keep the Stitching Close
The closer the stitching is to the seam line, the better it will control the facing.
Press Before Sewing
Pressing first helps the seam allowances stay in the correct direction and makes stitching more accurate.
Practice on Curves
Curved necklines can be slightly challenging for beginners, so practice on scrap fabric before working on the final garment.
Add Your Heading Text Here
Stitching Too Far from the Seam
If the stitching is too far away, the facing may still roll outward.
Forgetting to Press
Pressing is just as important as the stitching itself. Skipping this step can make the edge look uneven.
Catching the Outer Fabric
Be careful not to sew through the main garment fabric, or the stitching may become visible from the outside.
Quick Beginner Checklist
Before finishing a neckline or armhole, ask yourself:
- Is the facing attached correctly?
- Are the seam allowances pressed toward the facing?
- Is the stitching line very close to the seam?
- Has the edge been pressed after understitching?
Following this checklist will help you achieve a much neater result.
Conclusion
The understitching definition is simple: it is a sewing technique that secures seam allowances to a facing or lining so the edge stays flat and the facing remains hidden inside the garment. Understanding what is understitching is an essential skill for anyone learning tailoring or fashion designing.
Although it takes only a few extra minutes, understitching can make a significant difference in the appearance of necklines, armholes, and other finished edges. By adding this technique to your sewing process, you can create garments that look cleaner, fit better, and have a more professional finish.
Whether you are a beginner or an advanced sewing student, mastering the understitching definition will help you produce high-quality garments with beautifully finished edges every time.
Join Disha Fashion Institute
You can also visit our Homepage or explore our different Course pages to learn more about our programs. If you need any guidance related to courses like Basic Tailoring, Diploma in Tailoring, Fashion Designing, or other fashion-related courses, feel free to contact us. Our team will understand your requirements, skill level, and career goals to guide you toward the most suitable course that matches your learning needs. you can check our YouTube Channel we post our Institute and tutorial over there.