
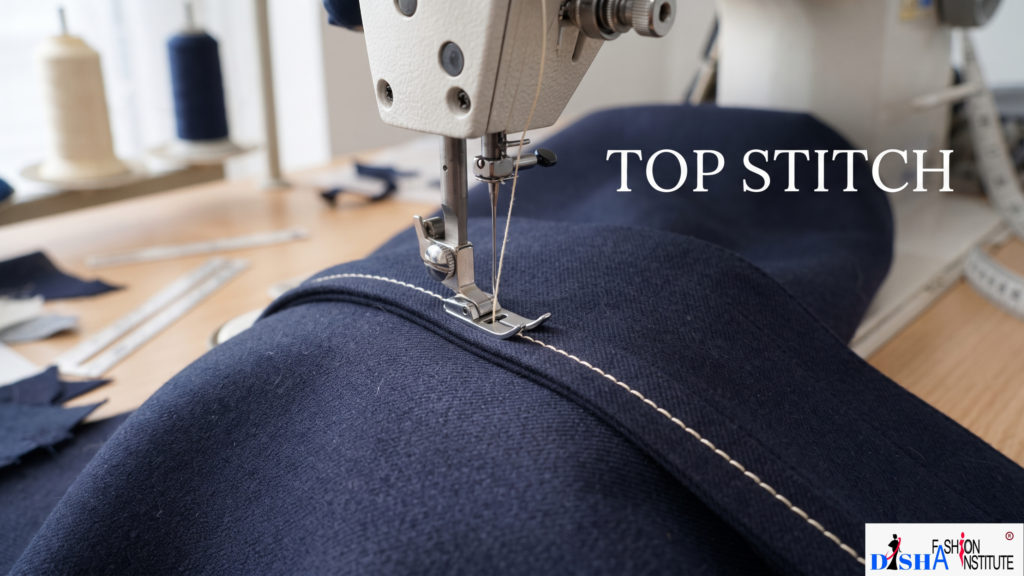
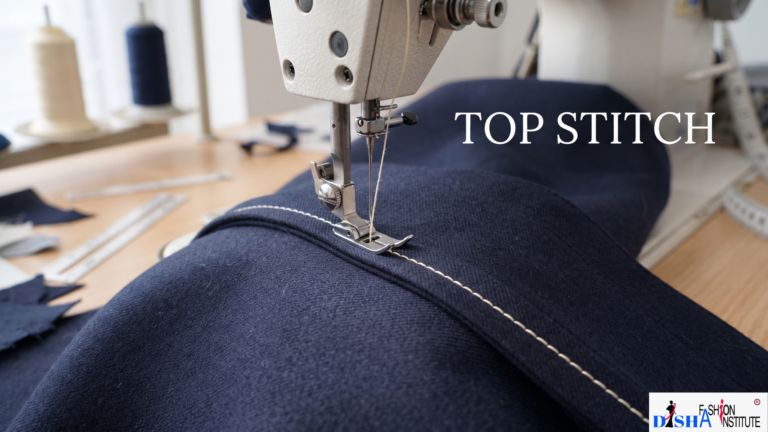
A top stitch is a visible line of stitching sewn on the outer surface of a garment or fabric. It is usually placed close to a seam, edge, pocket, collar, cuff, or other garment detail.
Unlike stitching that is hidden inside a seam, topstitching is intentionally visible. Depending on the design, it can be sewn using matching thread for a subtle finish or contrasting thread to create a noticeable design feature.
Topstitching can serve both a functional and decorative purpose. It can help keep seam allowances flat, add reinforcement to selected areas, and give garments a structured and professionally finished appearance.
The spacing, thread colour, stitch length, and placement can all change the final look.
Why Is Top Stitching Used?
Topstitching is used for several reasons in garment construction.
- To Reinforce Seams
Visible stitching can provide additional support around certain seams and garment areas that experience regular movement or handling.
- To Keep Seam Allowances Flat
After a seam is pressed, topstitching can help keep the seam allowance positioned neatly against the garment.
- To Create a Professional Finish
A straight and evenly spaced row of stitching can make a handmade garment look cleaner and more refined.
- To Add Decorative Detail
Topstitching can become part of the garment’s design. A contrasting thread can make seams, pockets, collars, and panels stand out.
- To Define Garment Details
Topstitching can visually highlight pockets, plackets, cuffs, collars, waistbands, and other construction details.
Types of Top Stitching
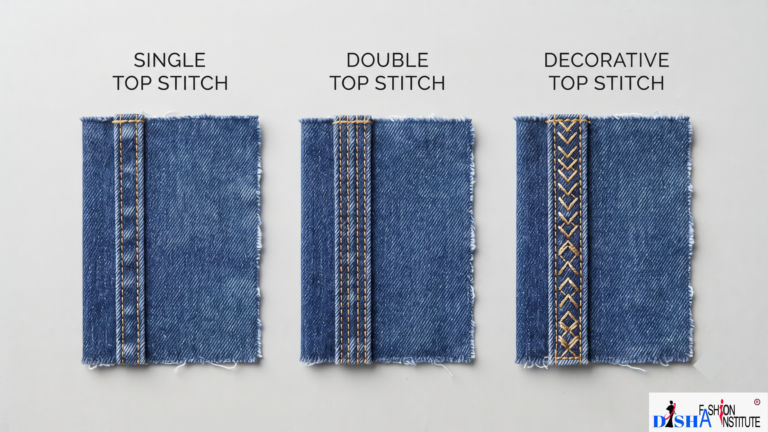
Topstitching can be adapted according to the garment style, fabric, and desired finish. Some common forms include single, double, and decorative topstitching.
Single Top Stitch
A single top stitch consists of one visible row of stitching placed along an edge, seam, or garment detail.
It creates a clean and relatively subtle finish, making it suitable for shirts, collars, cuffs, pockets, necklines, plackets, and everyday garments.
For a professional result, the distance between the stitching line and the garment edge should remain consistent. Even a small variation can become noticeable when the stitching is deliberately visible.
Double Top Stitch
Double topstitching consists of two parallel rows of visible stitching. The additional row creates a stronger visual effect and can also provide extra reinforcement in appropriate garment areas.
It is commonly associated with denim, jeans, jackets, workwear, and other garments where a more prominent finish is desired.
The two rows should remain parallel and evenly spaced to achieve a clean appearance.
Decorative Top Stitching
Decorative topstitching focuses more strongly on visual design. Different thread colours, stitch patterns, spacing, and placement can be used to create distinctive details.
It can be used around pockets, panels, hems, collars, cuffs, and other areas where stitching is intended to become part of the garment’s overall appearance.
How to Sew a Top Stitch
Creating neat topstitching is mainly about preparation, accurate positioning, and consistent sewing.
Step 1: Prepare the Seam
Complete the main seam and press it properly. A flat, well-prepared seam provides a better foundation for topstitching.
Step 2: Choose the Thread and Needle
Select a thread that suits the fabric and the desired appearance. Matching thread creates a subtle finish, while contrasting thread makes the stitching more visible.
Use a suitable needle for the fabric and thread combination.
Step 3: Decide the Stitch Length
Choose an appropriate stitch length and test it on a scrap piece of the same or similar fabric.
Avoid changing the stitch length randomly while sewing, as consistency is important for a professional finish.
Step 4: Mark the Stitching Line
For beginners, marking the intended stitching distance can help maintain a straight and consistent line, especially around curves or complicated garment details.
Step 5: Position the Fabric
Place the garment under the presser foot and align the edge or marked line with the appropriate guide on the sewing machine.
Step 6: Sew Slowly and Consistently
Guide the fabric smoothly without pulling or pushing it. Focus on maintaining an even distance from the edge.
Step 7: Secure the Stitching
Secure the beginning and end appropriately according to the garment construction and location of the stitching.
Step 8: Press the Finished Area
Once the stitching is complete, press the area carefully. Proper pressing can make the finished topstitching look considerably cleaner.
Single Top Stitch vs Double Top Stitch
Both styles can create an attractive finish, but they produce different visual effects.
Feature | Single Top Stitch | Double Top Stitch |
Number of rows | One | Two parallel rows |
Appearance | Clean and subtle | More prominent |
Visual effect | Minimal and refined | Bold and structured |
Common applications | Shirts, collars, cuffs, pockets | Jeans, denim, jackets |
Skill requirement | Relatively simple | Requires accurate spacing |
The choice depends on the garment design, fabric, and the appearance you want to achieve.
Where Is Top Stitching Used?
Topstitching can be found on many different types of garments and sewing projects.
Common applications include:
- Shirt collars – to define the collar edge
- Cuffs – for a clean finished appearance
- Pockets – to outline and reinforce pocket edges
- Jeans – often used as a prominent design feature
- Jackets and coats – to emphasize seams and panels
- Necklines – to create a neat finished edge
- Waistbands – to secure and define the waistband
- Plackets – to highlight the opening and provide additional support
- Hems – to create a visible finished line
- Decorative panels – to enhance garment design
Tips for Perfect Top Stitching
A neat top stitch depends largely on consistency. Keep these tips in mind:
Maintain an Even Distance
Try to keep the stitching line at the same distance from the edge throughout the garment.
Test Before Sewing
Always test your thread, needle, stitch length, and tension on a scrap of similar fabric before working on the actual garment.
Press Before Topstitching
Wrinkles, bulky seams, and uneven seam allowances can make topstitching difficult. Proper pressing helps create a smoother surface.
Sew at a Controlled Speed
High speed can make it harder to maintain an accurate line, especially around curves and corners. Beginners should sew at a comfortable speed.
Avoid Pulling the Fabric
Allow the sewing machine to feed the fabric naturally. Pulling the fabric can distort the seam or produce uneven stitches.
Pay Extra Attention to Corners
Slow down before corners and curves. Planning how you will turn the fabric can help create cleaner results.
Choose Thread Carefully
A contrasting thread can highlight imperfections, so beginners may prefer matching thread while practising. Once confident, contrasting thread can be used to create a stronger design statement.
Top Stitch vs Regular Seam Stitch
Although both involve sewing, they have different purposes.
A regular seam stitch is primarily used to join fabric pieces together. It is often positioned within the seam allowance and may not be visible on the outside of the garment.
A top stitch, on the other hand, is deliberately visible on the garment’s outer surface. It may reinforce a seam, hold a seam allowance flat, create a finished edge, or simply add decorative detail.
In many garments, the two techniques work together: the regular seam creates the basic garment structure, while topstitching adds finishing and visual definition.
Final Thoughts
A top stitch may look like a simple line of thread, but it can have a significant effect on the final appearance and finish of a garment. From a clean shirt collar to bold denim details, carefully placed topstitching can improve both function and style.
Learning how to control stitch length, spacing, thread choice, fabric movement, and sewing speed will help you create cleaner results. Start with simple projects and practise a single top stitch before moving on to double or more decorative techniques.
Join Disha Fashion Institute
You can also visit our Homepage or explore our different Course pages to learn more about our programs. If you need any guidance related to courses like Basic Tailoring, Diploma in Tailoring, Fashion Designing, or other fashion-related courses, feel free to contact us. Our team will understand your requirements, skill level, and career goals to guide you toward the most suitable course that matches your learning needs. you can check our YouTube Channel we post our Institute and tutorial over there.